Recommendations during install process:
- New PCV hoses
Tools needed:
- 10mm socket and wrench
- 12mm socket and wrench
- 11/16, 3/4, 9/16, 7/8 wrenches for AN fittings
- Pliers for clamps
- Phillips and Standard Screw Drivers
- Wire Snips, Cutters and Dikes
Optional Tools: (Recommended)
- Soldering Iron
- Heat Shrink
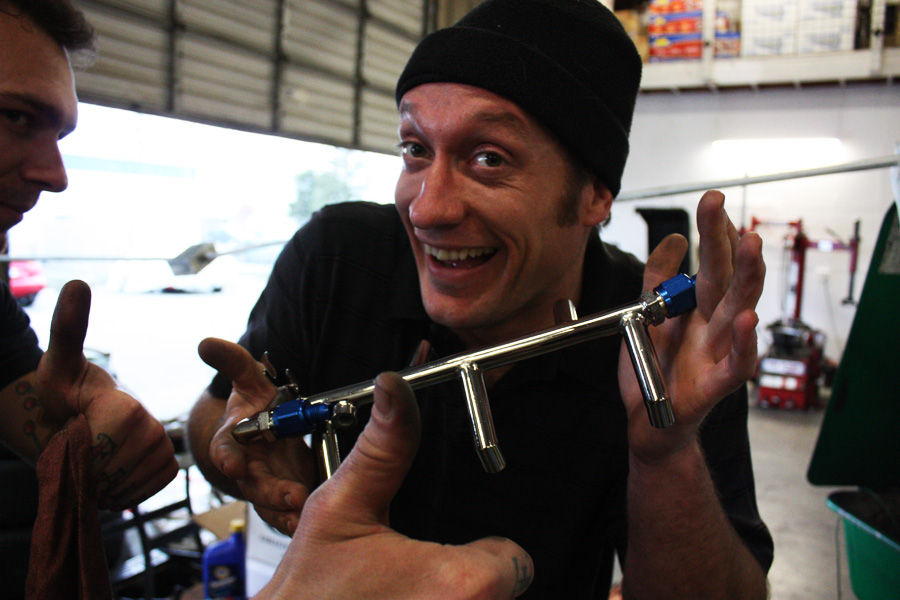
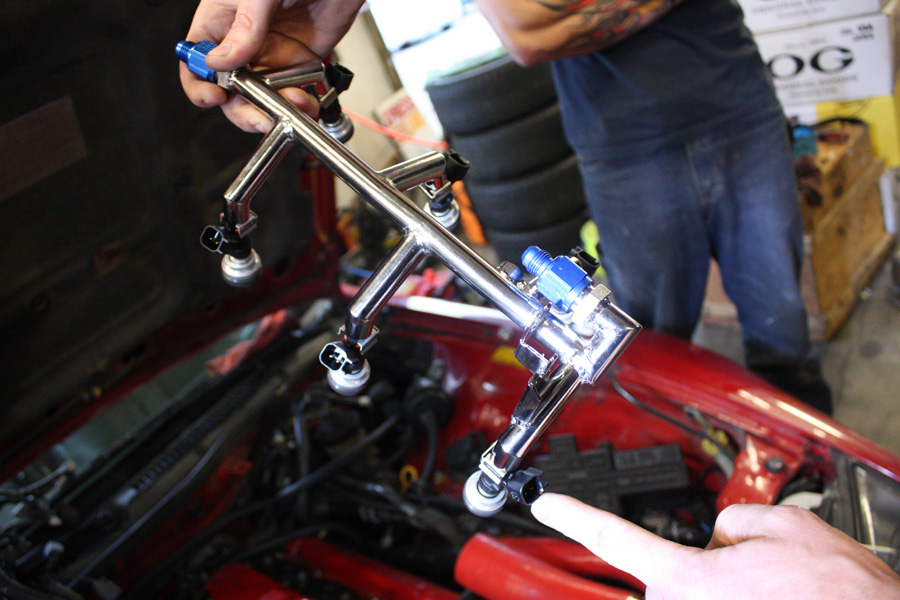
STEP 1. Admire your nice shiny new rail!
Start:
2. Remove Upper Plenum - If can not accomplish this, do not attempt to install the fuel rail yourself.
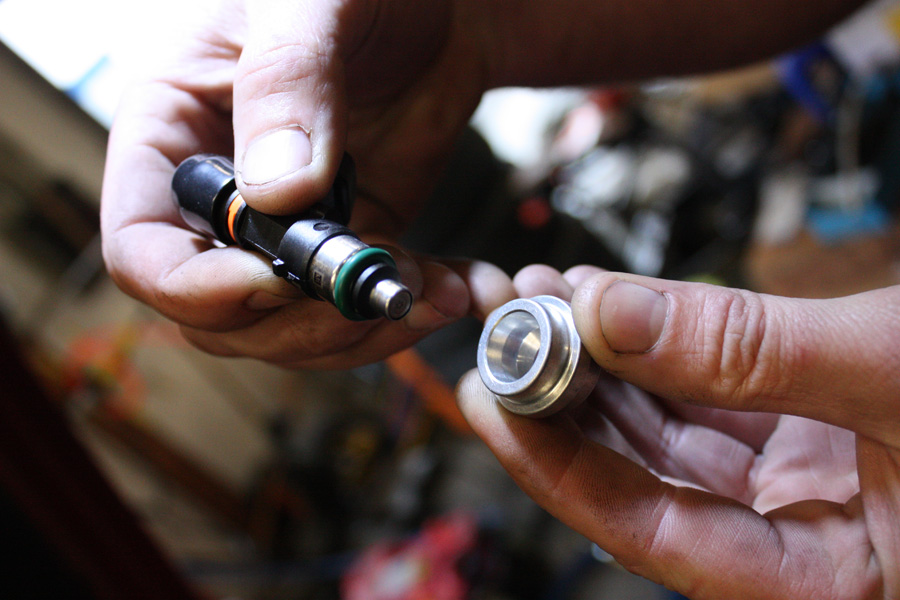
3. Take a fuel injector, add a little grease on the green o-ring and insert into the lower plenum adaptor. Repeat 6 times.

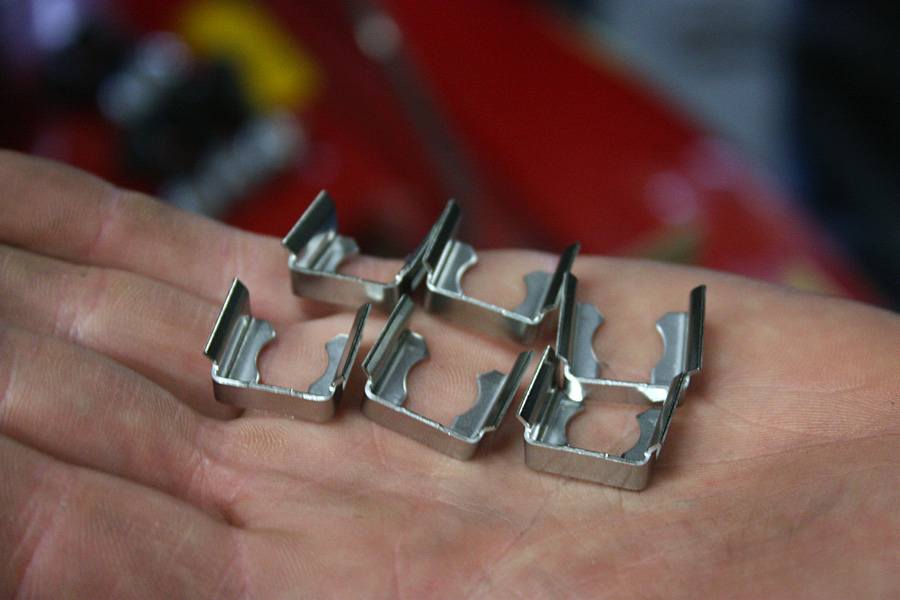
4. Snap the retainer clips to each injector. Repeat 6 times.
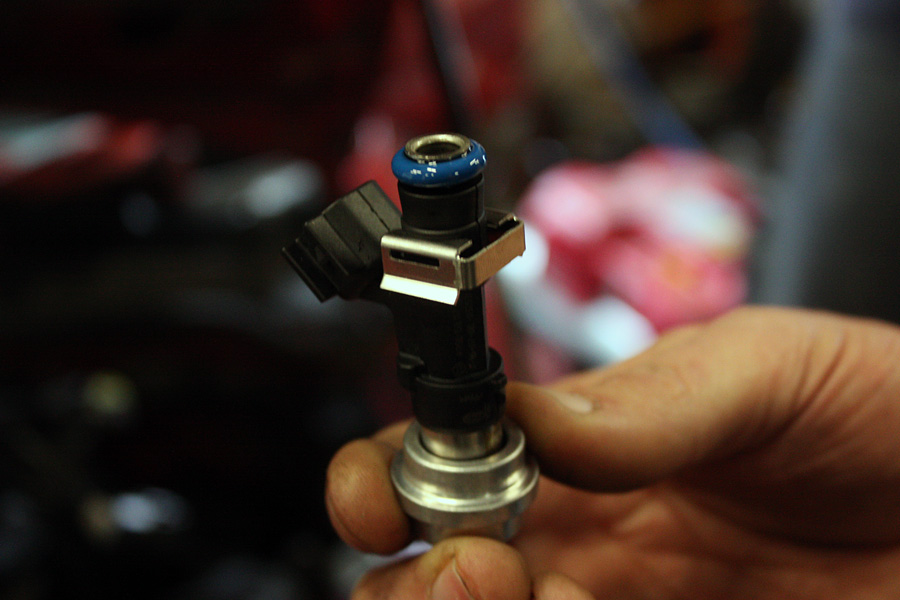
5. Insert the injectors into the rail with a little grease on the blue o-ring.
6. Add the injector cushion ring to each injector adaptor.
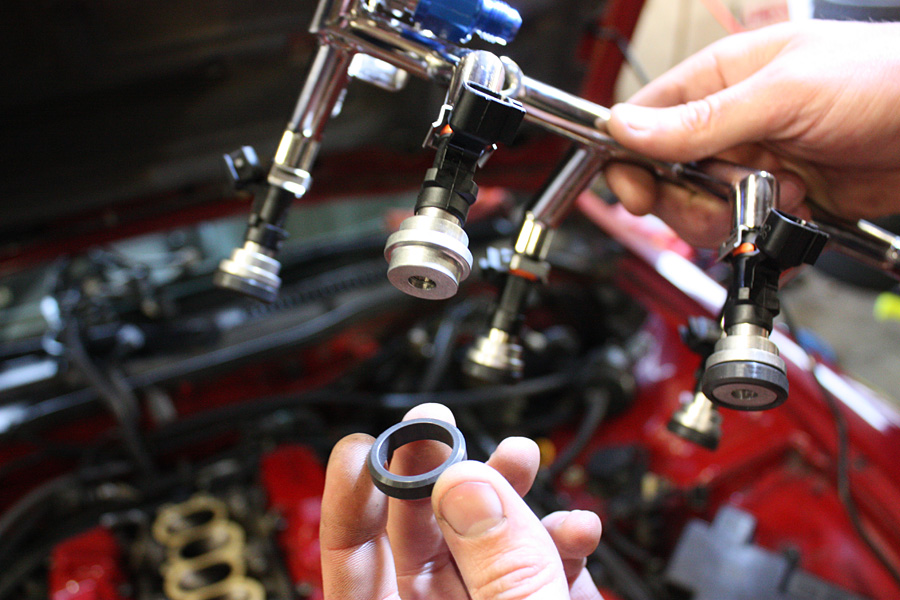
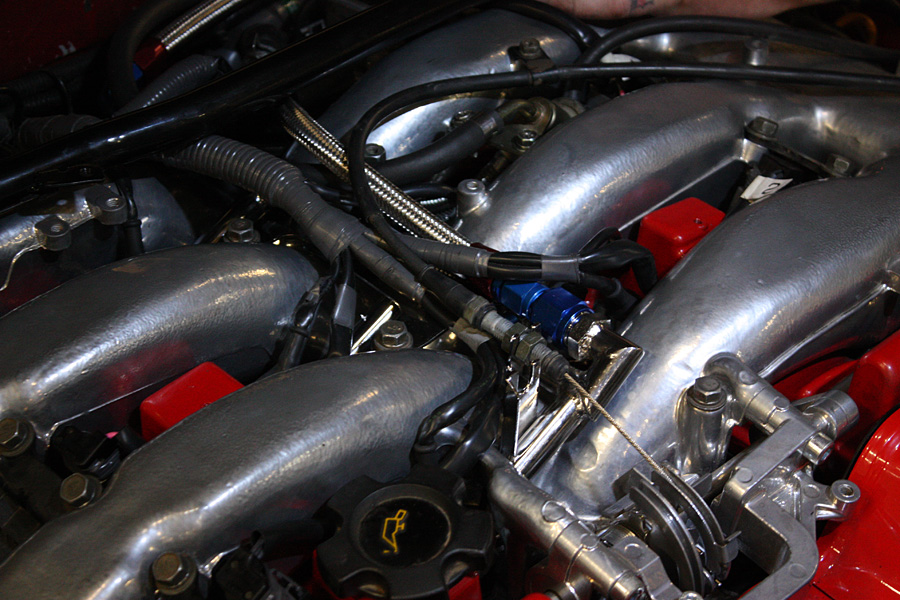
7. Insert your factory fuel rail temperature sensor into the given mount shown below.
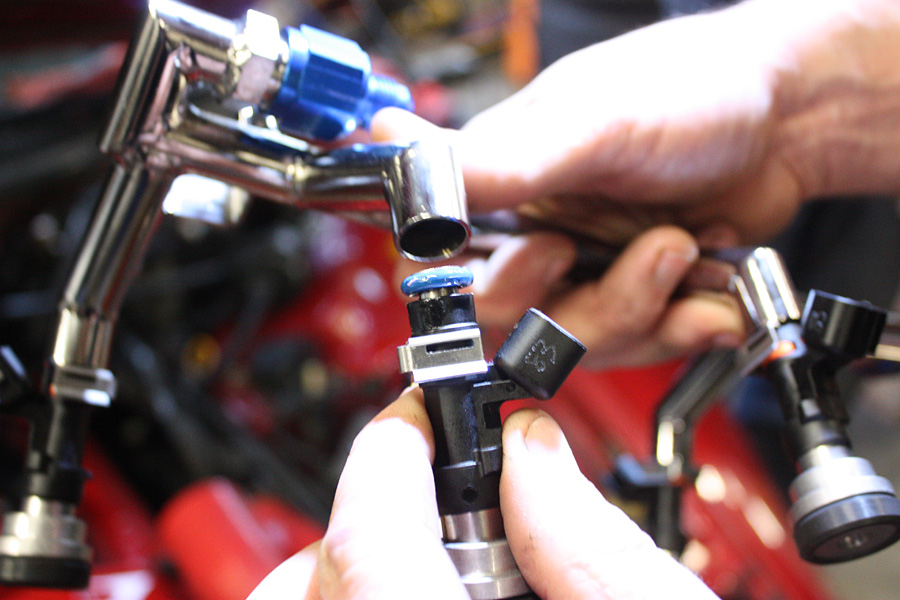
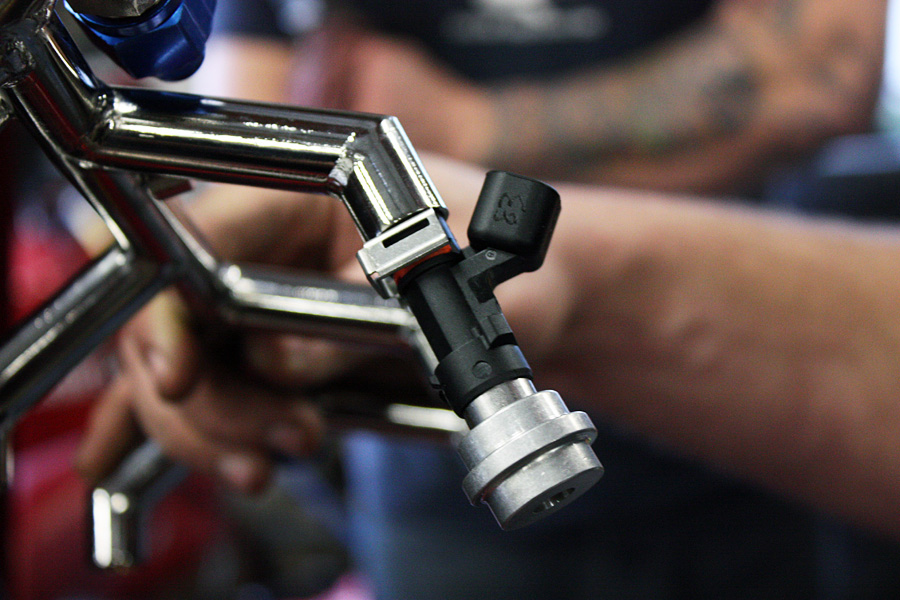
8. Turn injector #1 as shown for easier installation. At this point set the completed rail aside.
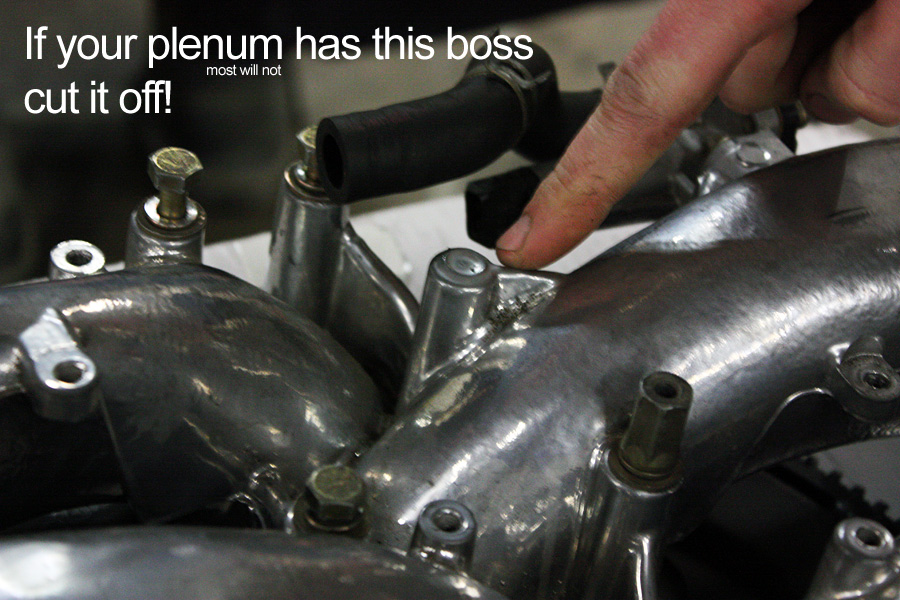
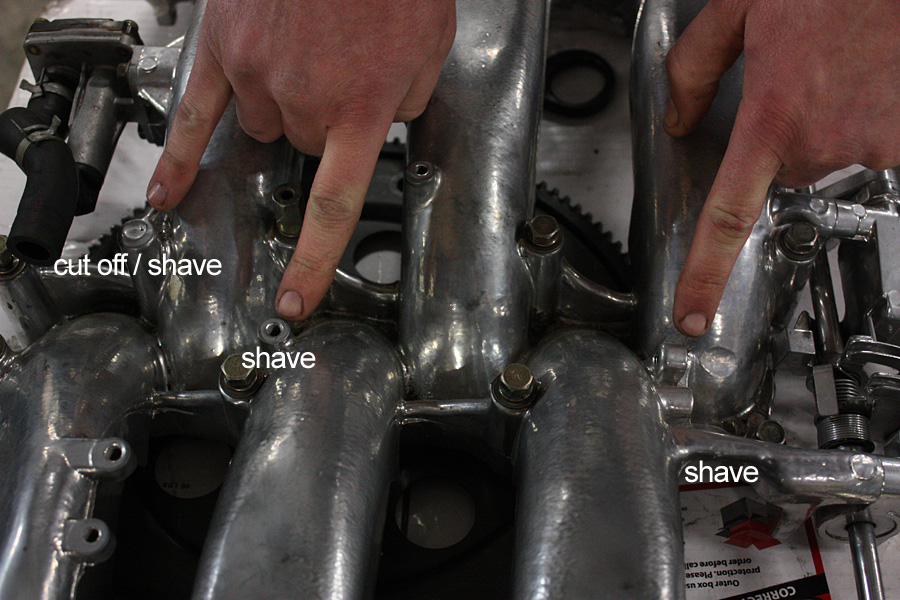
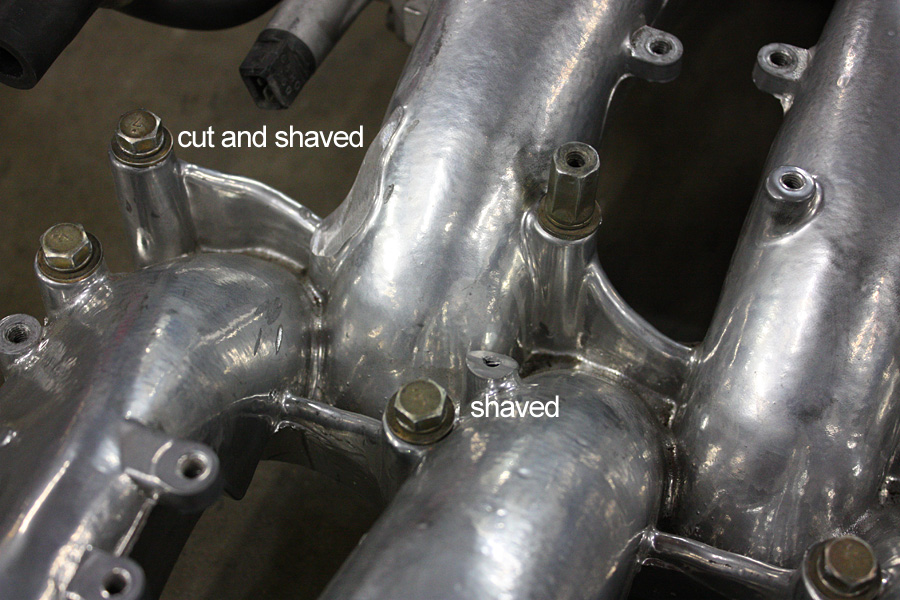
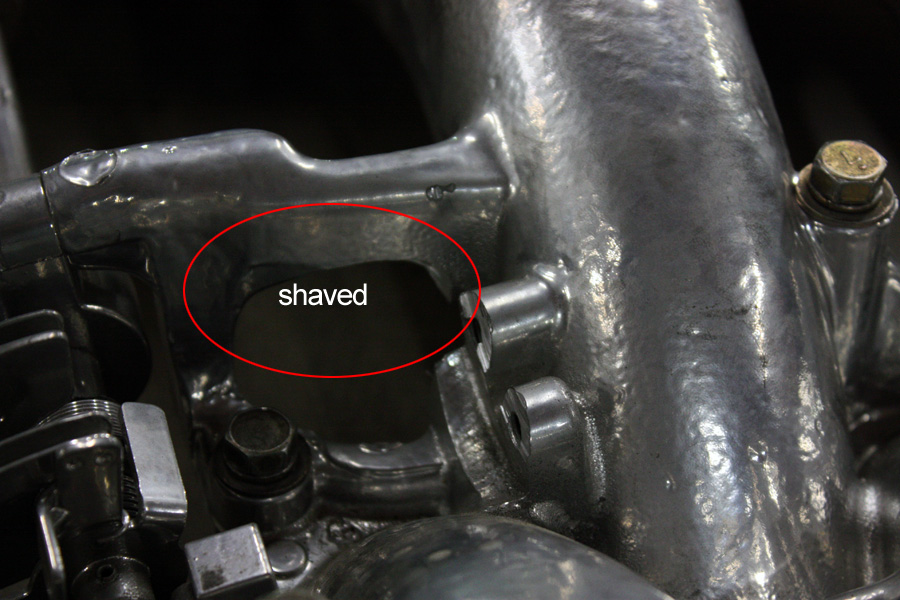
9. These next few steps may not apply if you have early style upper plenums. This rear boss will need to be removed if present. They are found only on 96+ plenums.
10. Reinstall upper plenum. Run the Fuel Pressure Regulator line under the 5th intake runner (for OEM Fuel Pressure Regulator fitment). Install the completed fuel rail assembly. Make sure the rubber cushion rings sit properly in the lower plenum before installation of the mounting bracket.
11. Install the fuel rail mounting bracket using the 4 factory bolts. Remember to make 100% sure the cushion rings and adaptors are seated properly before tightening the bracket down.
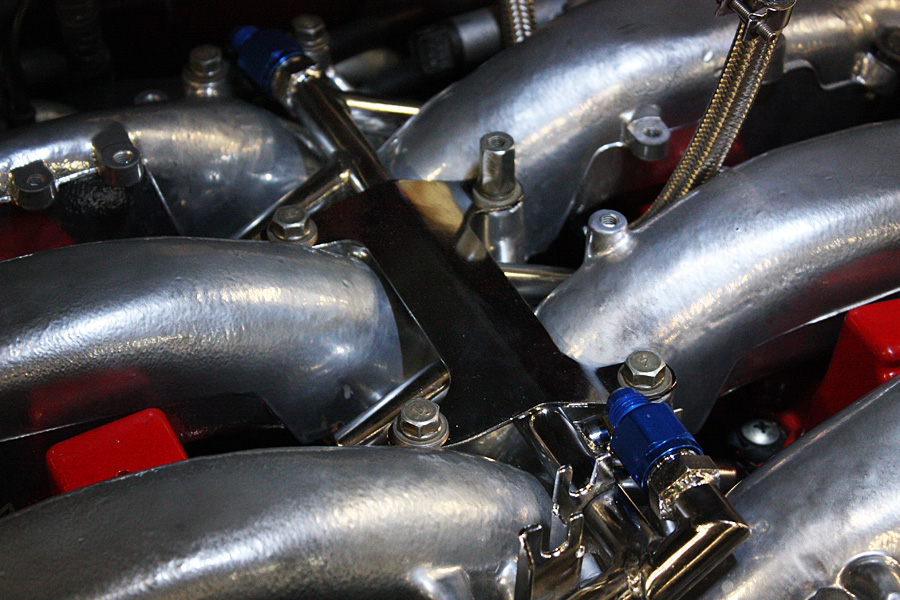
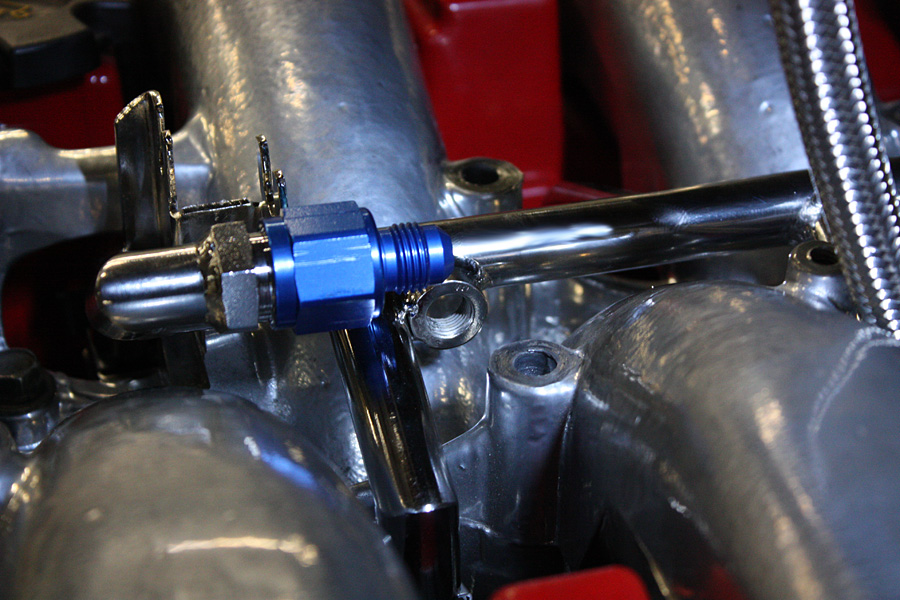
12. Install the input line from the back of the rail to the fuel filter. Make sure fittings are nice and tight.
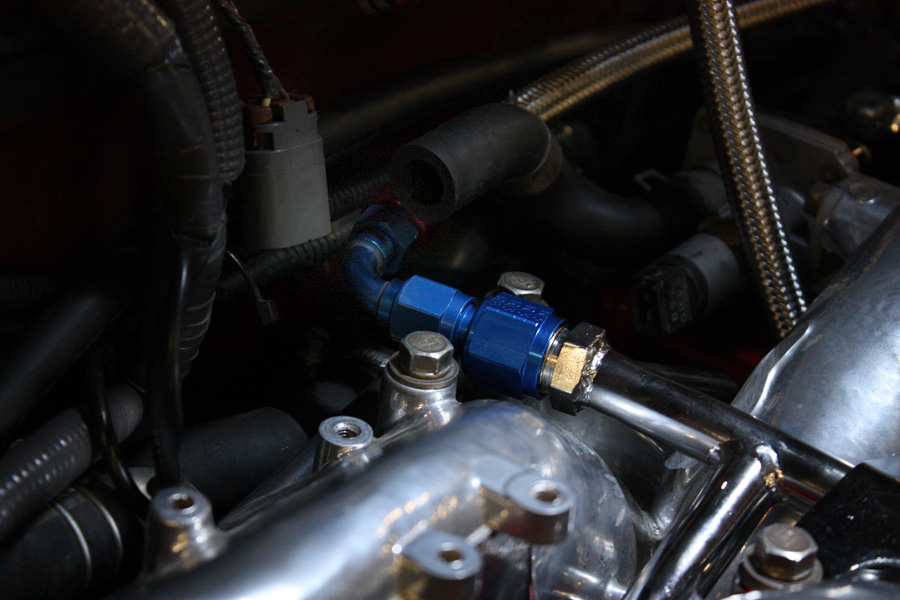
13. Connect the open side of the FPR line to the Fuel Pressure Regulator. Easier to do with the FPR not bolted to the plenum :)
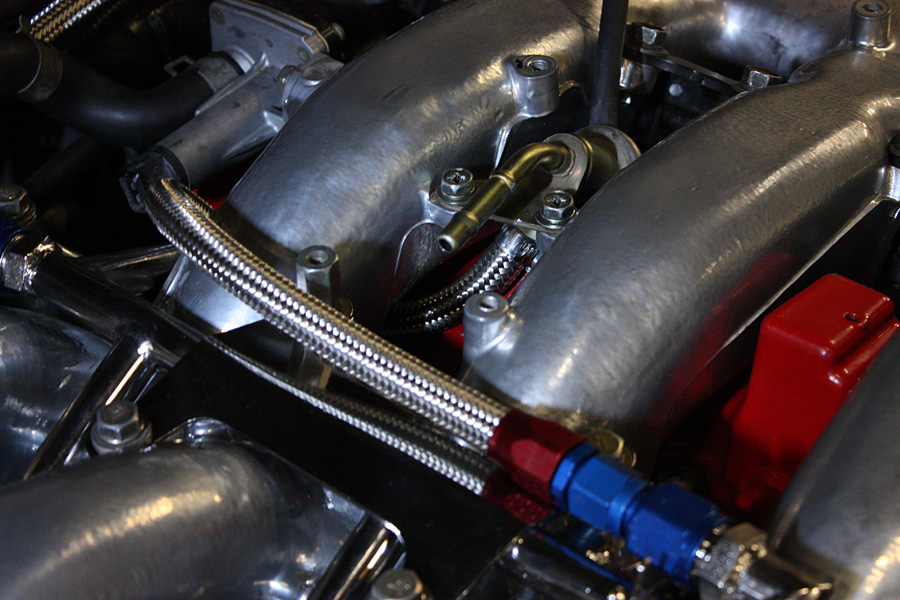
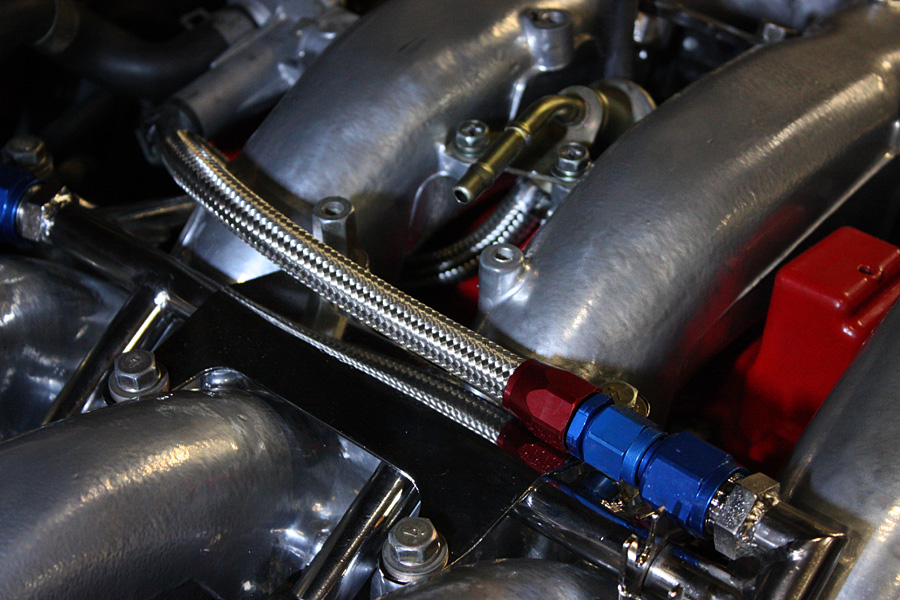
14. Now connect the AN side of the FPR line to the front of the fuel rail. Make sure fittings are nice and tight.
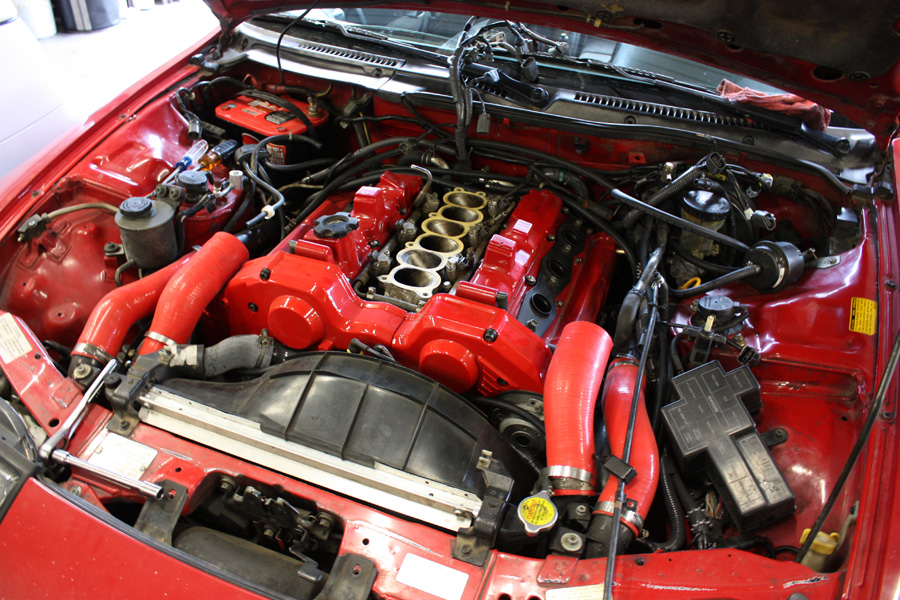
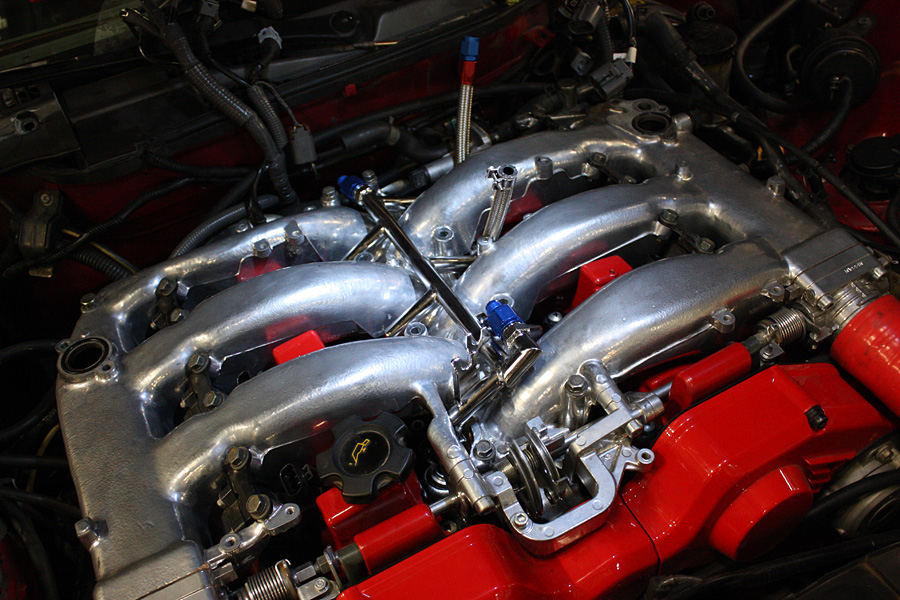
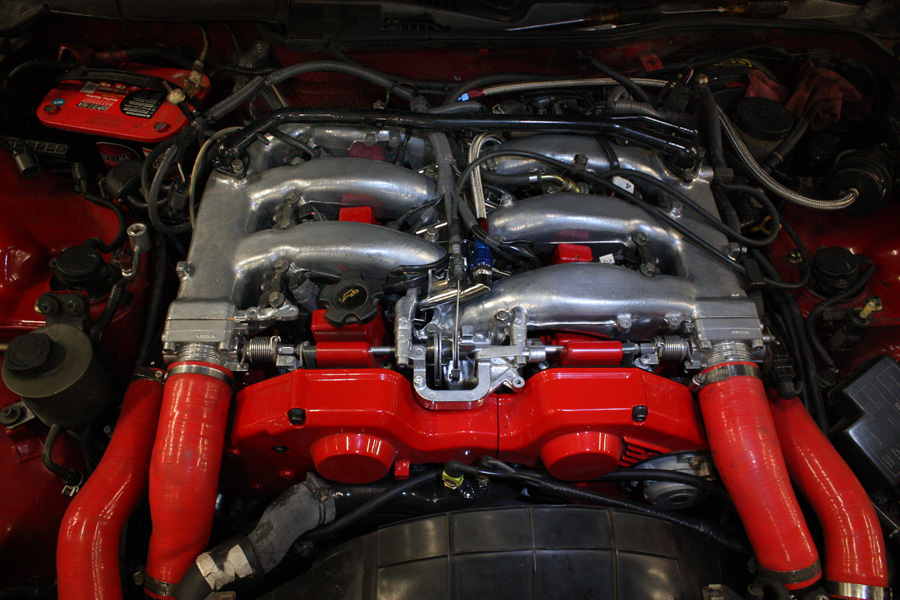
15. Install the new fuel injector electrical clips. Make sure wiring is done cleanly and safely, ie. solder, heat shrink, seal, etc. Reinstall remaining OEM fittings, hoses, brackets and connections. Your engine should something like whats pictured. If it doesn't, you either did something wrong or you have mad skillz and installed everything in a clean and awesome fashion!
16. Now take pictures! Email them to us! Show everyone! Post them up!